Here's a set of cards that I made as one more gift for my daugher's teacher. Several of these cards were "CASED" from other blogs....I wish I had 1/4 of the creativity that some of those ladies do!

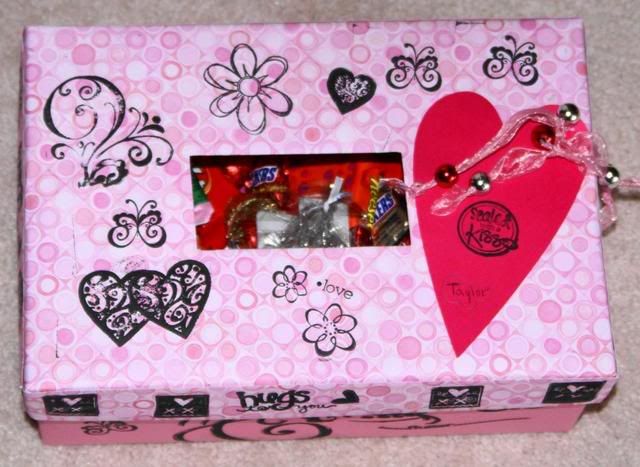
First is the little box I made for storing the cards. The flowers and butterflies were cut with my Cricut Expressions machine. Flowers were cut out of white cardstock and the edges inked. I used the border feature on Walk In My Garden for these. The butterflies were first cut in shadow out of white cardstock, inked on the edges, and stuck down. The top layer of butterflies were cut out of various Creative Memories Printed Paper. I decorated both sides of the box this way.
 This first card uses paper from the Basic Gray Sugared 6x6 pad. I used printed paper as the background and a strip of solid (distressed) paper from the same pack across the middle of the paper. The scalloped circle was cut using my Cricut Expression and Design Studio, as was the the inside circle. Flowers are Primas, fastened to the lighter paper using a clear rhinestone brad. I know, you're thinking to yourself, "that doesn't look like a clear rhinestone brad!". :) It is, but it's topped with a "skittle". These little gems are being raved about all over the Cricut message boards. I found my CLEAR ones at Michael's....Yes, this pink "skittle" started out clear! I just colored the flat bottom using my BIC markers. It was then attached to the top of the brad using Ranger Glossy Accents. I love the dimension it added. (This card was CASED, but I can't find the blog user who first created it.)
 This card was created using scraps from my Basic Gray 6x6 pad of Sultry and some scraps of Bazzill. The birds (Stampin' Up "A Little Birdie Told Me") were stamped onto white cardstock and cut out. Then I colored them using my colored pencils and then I went over that using a Goo-Gone Pen....Yes, Goo-Gone is not just for getting rid of goo! I read on Splitcoast Stampers that some ladies were using a Goo-Gone pen for blending their colored pencils instead of Gamsol or Baby Oil Gel. I had tried the Baby Oil Gel before and didn't have much luck with it, even after several tries. I got it the first time with the Goo-Gone pen. I based this design on a card that I saw HERE.
 More Sultry paper here. I so love the bright colors from this pack! This is one of the few design I came up with on my on. (shocker!) Prima flowers are secured to the ribbon using a clear rhinestone brad. I used my Cricut Expression machine and the Walk In My Garden cartridge to cut the butterflies in pink and green Bazzil cardstock. See the round accents on the wings of each butterfly? Those are CLEAR Rain Dots that I colored with my BIC markers. You would not believe how excited I was after seeing how good these looked after coloring them.
 Here's another of my own designs. I used DCWV cardstock as the base after running it through my cuttlebug to dry emboss it. The printed paper is from DCWV All Dressed Up Mat Stack. The green embem was cut using my Cricut Expression and the Home Accents cartridge. The "W" monogram was cut from the Jasmine cartridge. Everything was then inked with black ink.

Another one of my ideas, using all the same paper as noted in the above paragraph. In this card, I used a corner ticket punch on the green paper and printed paper. White eyelets were then put in all four corners of the black cardstock. Flowers are Prima and attached to the printed paper with a clear rhinestone brad. The black flower in the center started out white! I wanted to use a black flower in the center, but I did not have one in the size I needed. So, I took a white one and colored it black using my BIC markers!
 I love this card, too! Check out THIS BLOG for my inspiration for this card. I ran the pink paper through my Cuttlebug. The printed paper is from Imaginisce. The flower petals are ovals cut using my Cricut Expression and the George Cartridge. The green accents in the center of the flower are clear Rain Dots that I once again colored with my BIC markers. The square "button" is chipboard and the Imaginisce paper that I cut out using my Cricut Expression, Design Studio and the George cartridge. Then, I punched two holes using my Crop-o-Dile and tied various ribbons on it for added dimension. The stamped image is a small border from Studio G clear stamps.
 THIS BLOG is so full of beautiful ideas, and it's where I found a card to base the one above on. All paper is from the We R Memory Keepers Silver Lining collection. I did not have the stamp used in the original card, so I used my Cricut Expression and the Joys of the Season cartridge.
 The card I chose to case for the one above is by The Stamping Addict. Her flower image and stem are stamped, and I did not have anything that I liked to use in this spot, so I used my Cricut Expression to cut out several different sized flowers and a stem. I layered the flowers and attached them using a gold mini brad. The light colored paper at the bottom of the card front was a scrap of Basic Gray that had been stamped using Stampin' Up's French Script backgrounder.
 This card was also CASED, but I am unable to find who came up with the original. Design paper is by Basic Gray, all cardstock is Bazzil and DCWV. Flowers are Primas and ribbon came from Michael's dollar bin.
Thanks so much for stopping by!


.JPG)
 Nah...cute little Webkinz, though. Think it was this?







 Posts
Posts


