Hits4Pay

Thursday, December 27, 2007

Twas the night before Christmas.....

Actually, twas three nights before Christmas, and all through the house, not a creature was stirring....actually, *I* was the only one stirring because, as usual, I procrastinated and was up waaaaaaaaaay too late finishing Christmas gift projects and cards! I had gift card holders to make, Christmas cards to finish, and a couple of gifts to wrap, and we were leaving at lunch the next day. YIKES!!! I stayed up until around 2:00 a.m. and was worn out, but they were done. That meant all I had left to do the next morning was to pack for our "traveling" holiday. (Those of you who know me, know what I mean by this.) Sooo, here they are...the last of my Christmas projects...


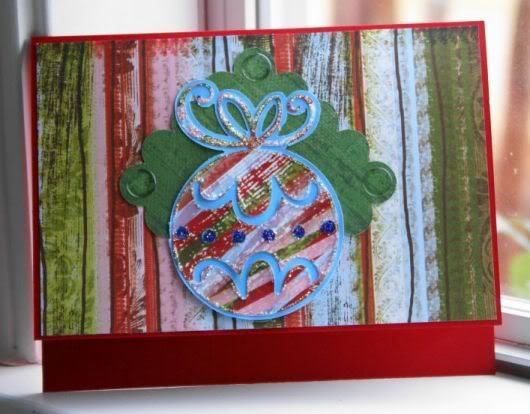
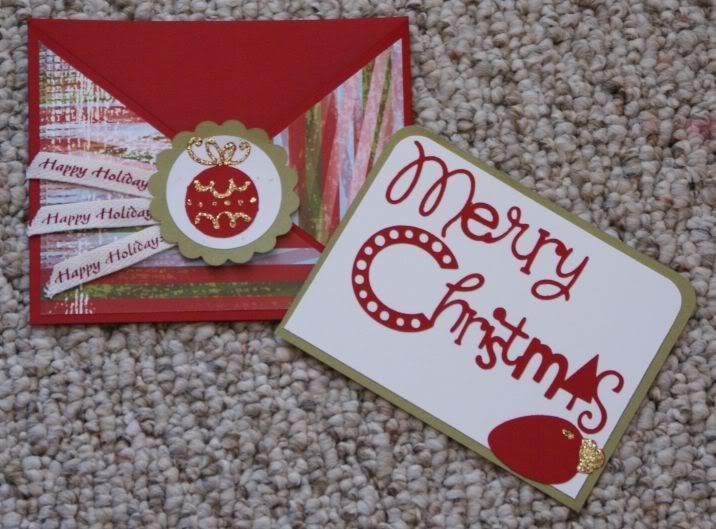
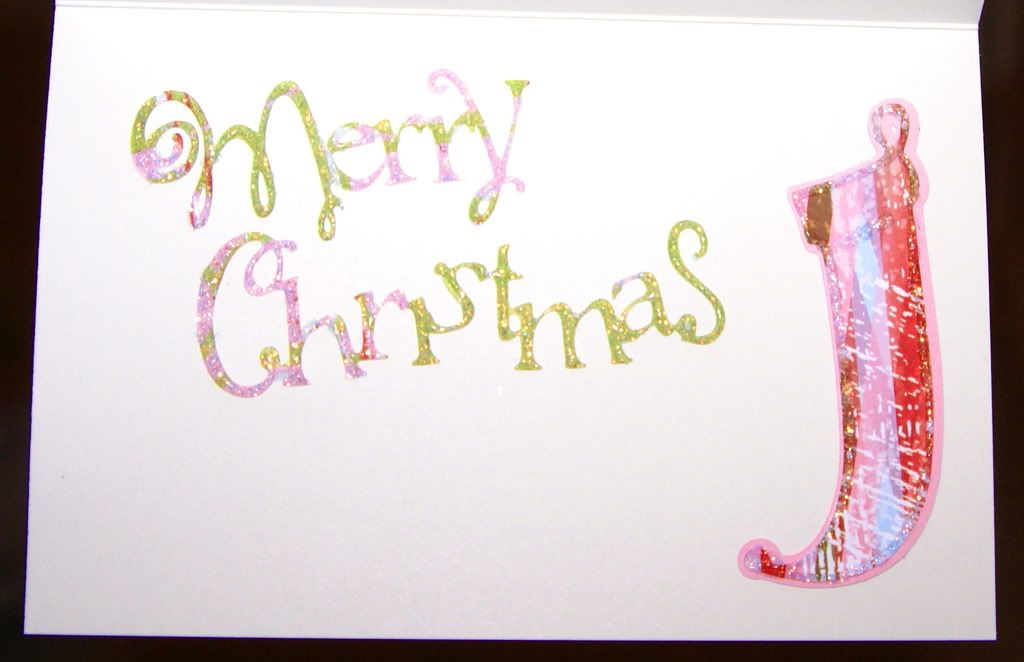
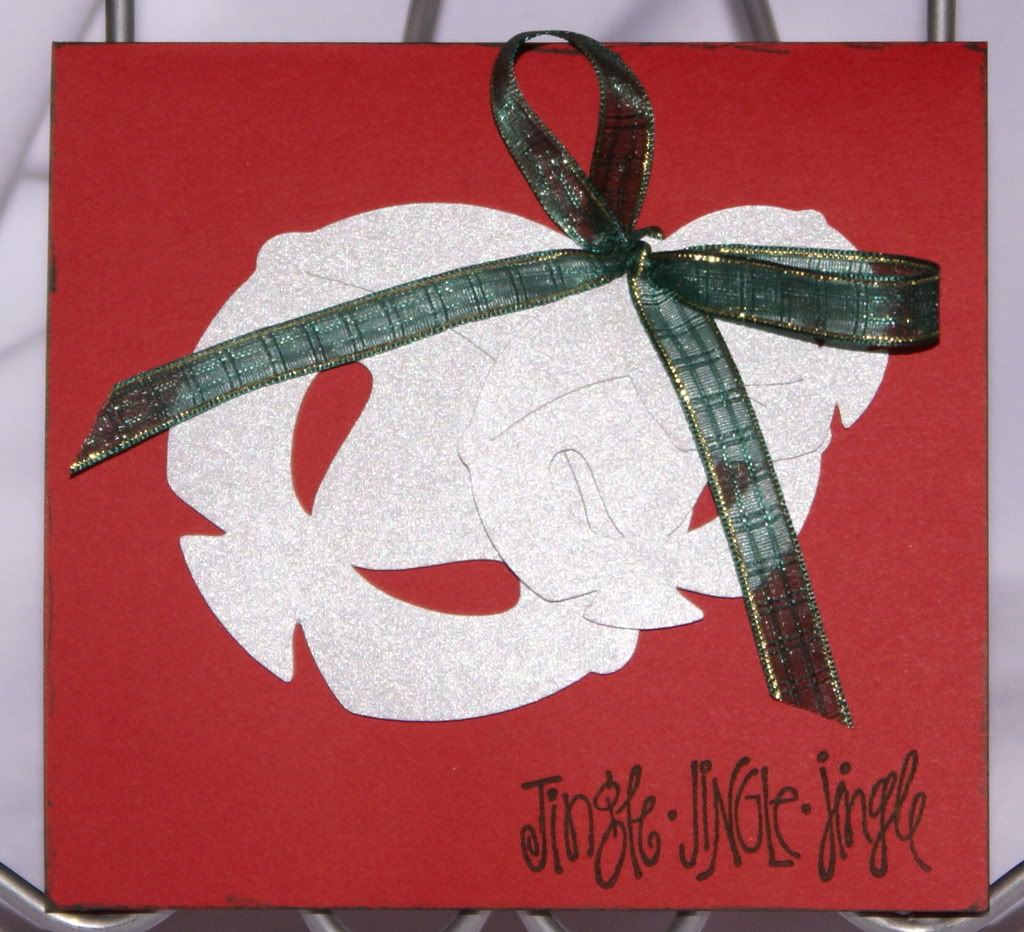
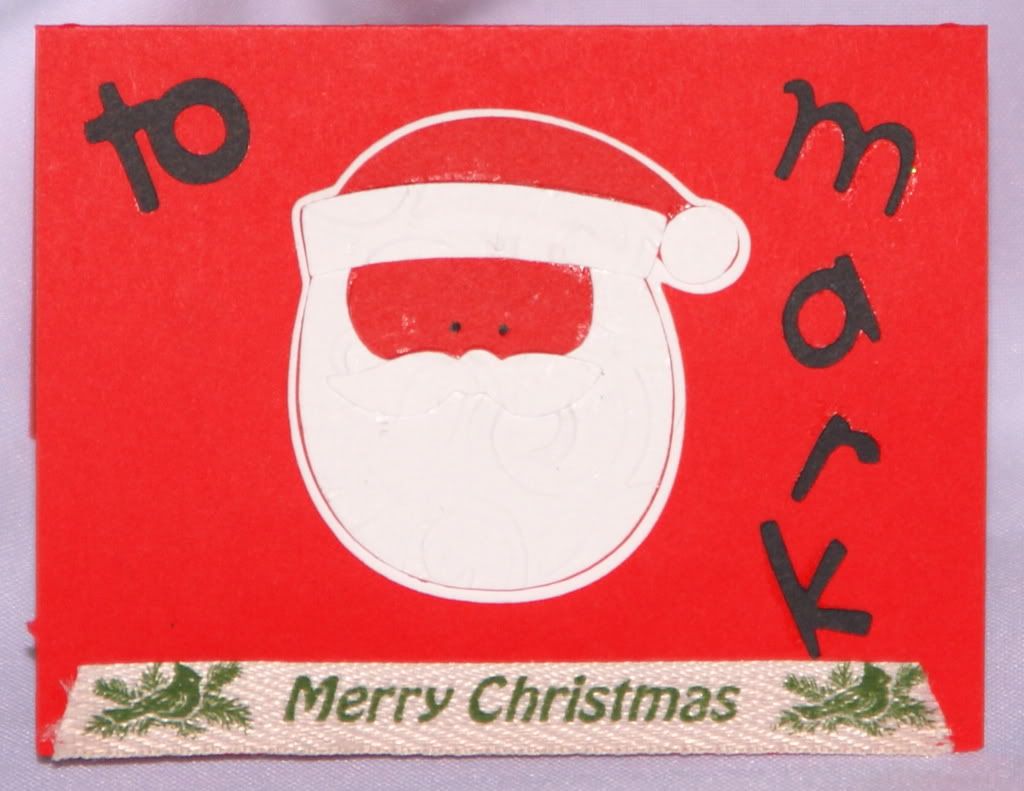
Here is the Christmas card I made for my daughter's teacher. The patterned paper on the front, as well as what I used for the stocking on the inside, are Merry Grinch-mas from Rusty Pickle. The other papers are from Creative Memories. Ribbon is from Wal-Mart. I cut the scalloped square on the front from Mini-Monograms at 4 inches, and the ornament was cut from Christmas Cheer at 3.5 inches. "Merry Christmas" and the stocking were cut from Joys of the Season at 2 inches. I used Diamond Stickles on the words and the stocking inside.


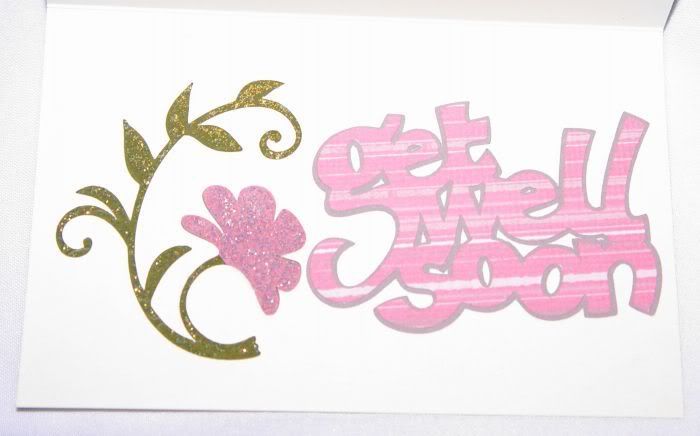
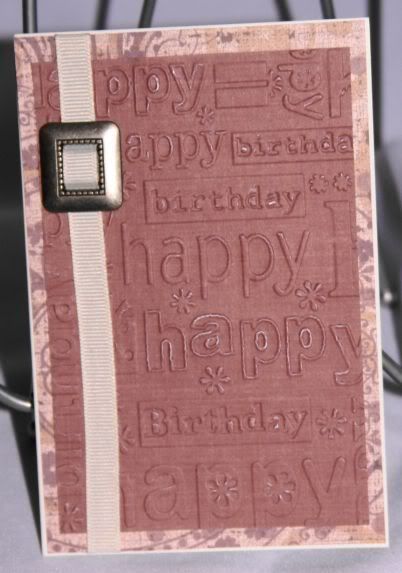
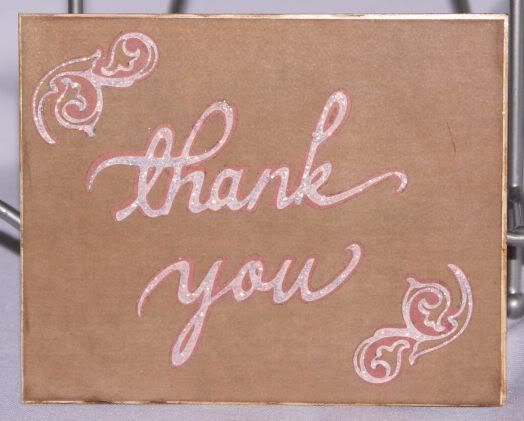
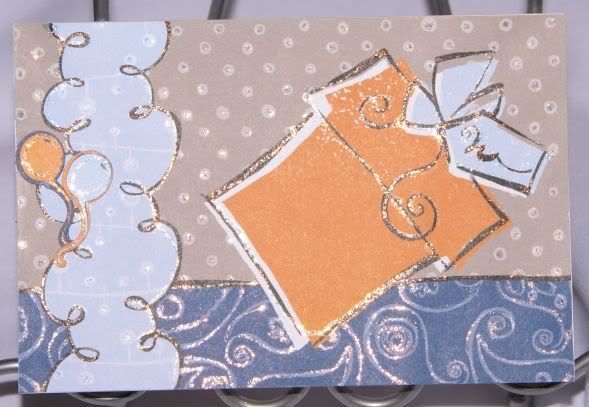
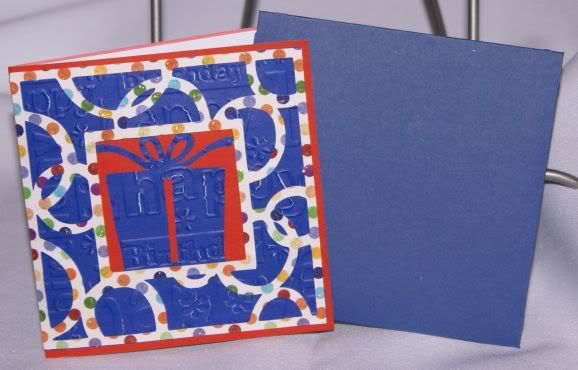
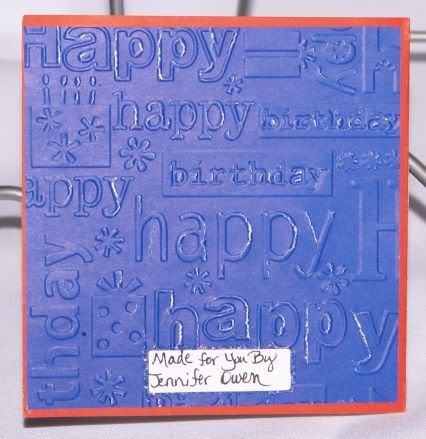
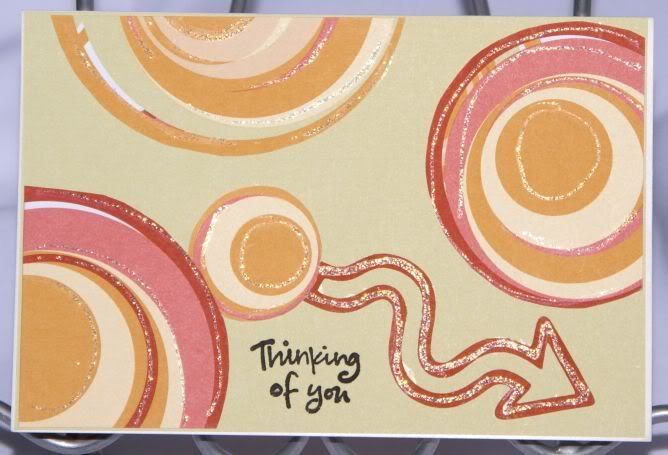
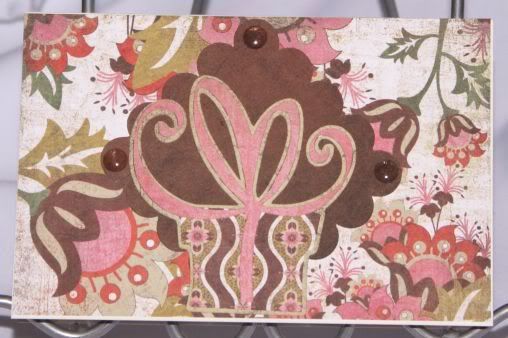
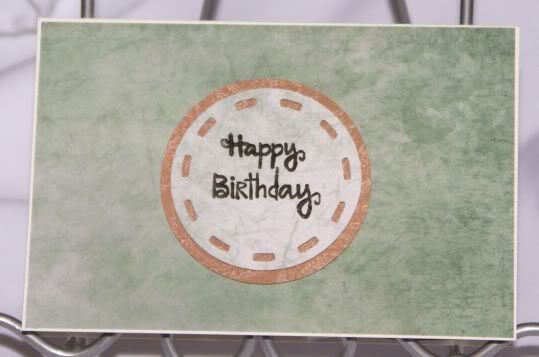
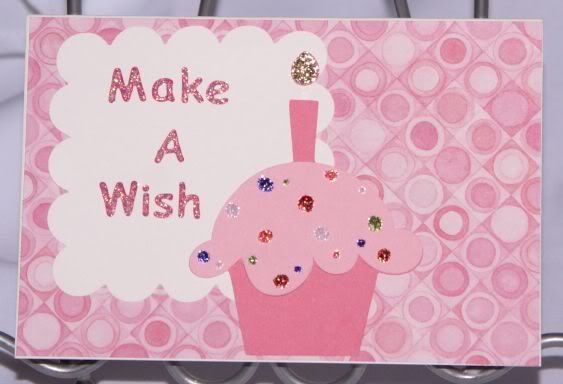
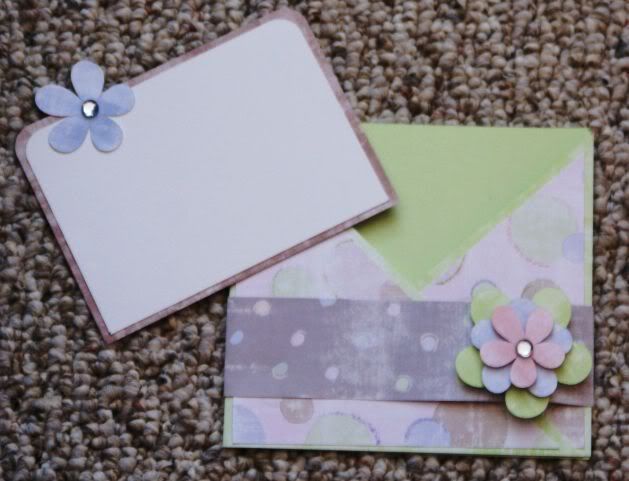
I participated in a gift exchange on a message board I belong to. Included with the gift I sent my gift exchange partner were some chocolates and a pack of 3 cards that I made. The cards were copied from some other birthday cards I made earlier.


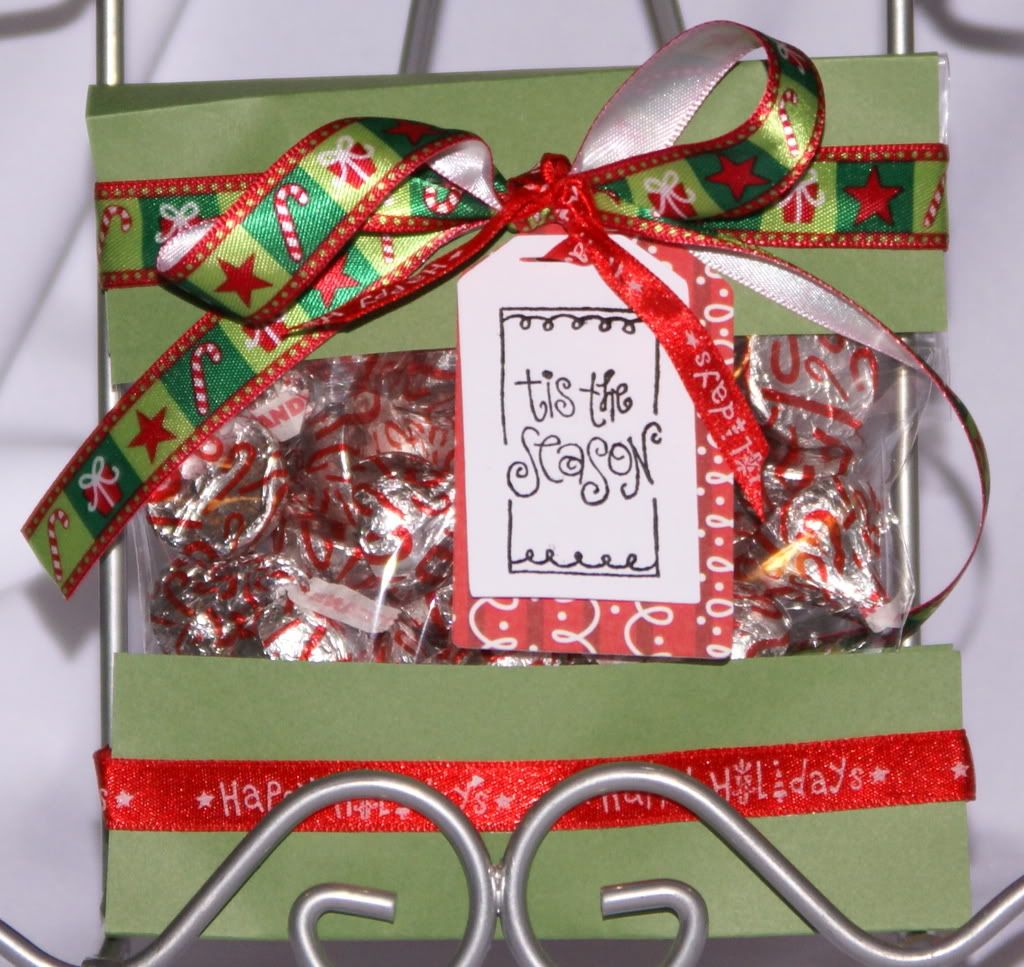
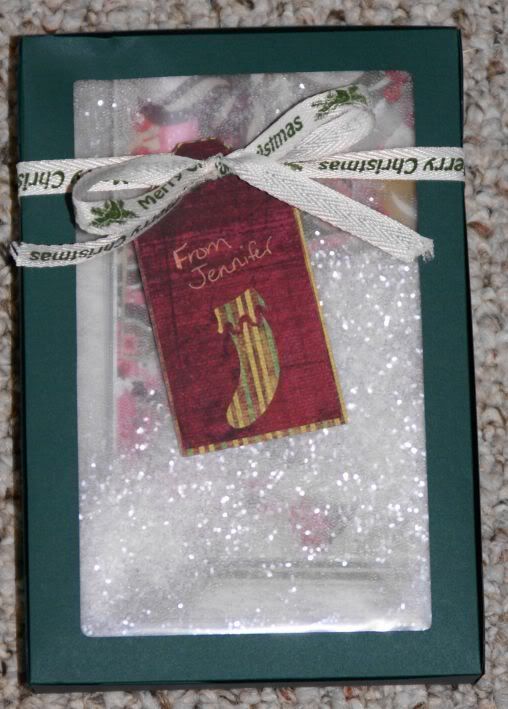
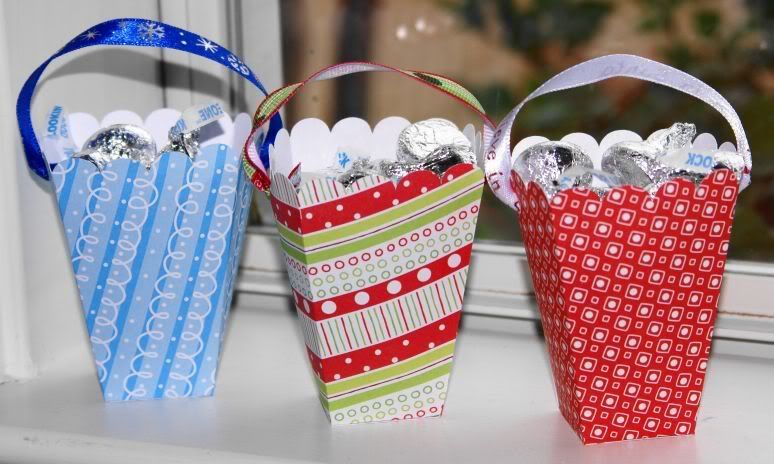
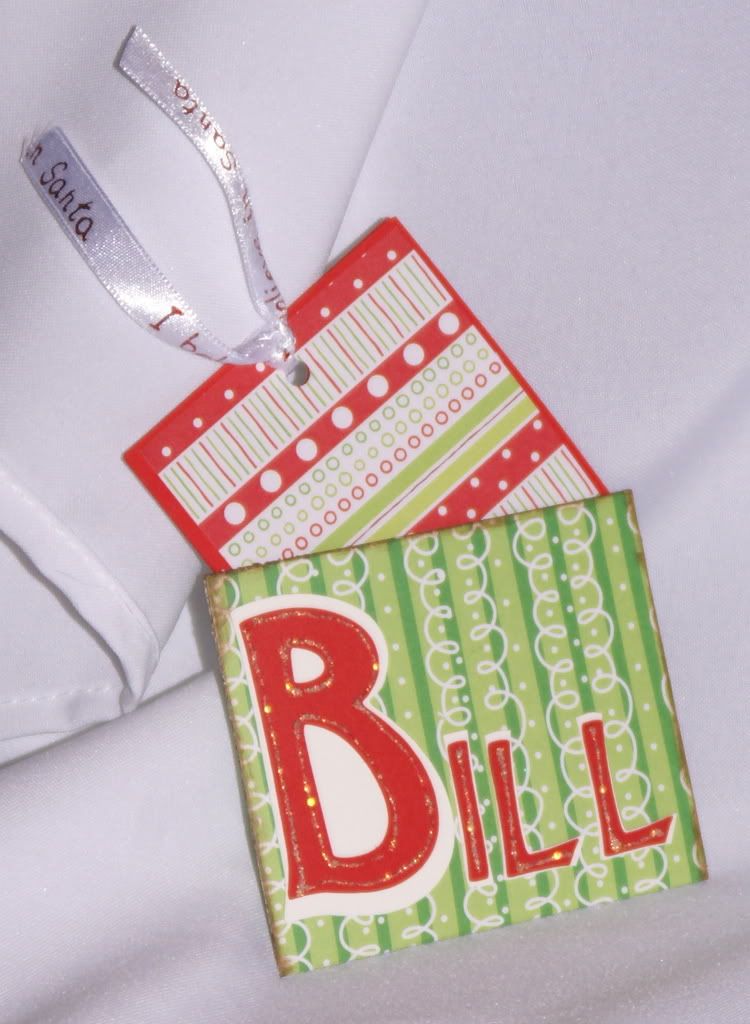
In the above picture, I just put the Hershey's Kisses into a cello bag and laid the bag down on top of the green CM paper I was going to use. I marked the paper and cut it so that I would have about 2 inches on the front and back after it was folded down from the top and up from the bottom. On each piece of paper, I scored two lines that were just under .25" apart and folded. I then adhered the paper to the top and bottom of the bag and added ribbon to each. Both styles of ribbon are from Big Lots. The red tag was cut at 3 inches from Provo Craft Christmas Cheer paper. The white paper is CM and was cut at 2.75 inches and stamped with a $1 stamp from Michael's.

I made this slider box for two Dove chocolate bars. Again, I placed the candy on top of the paper (Christmas Cheer paper from Provo Craft), marked and cut the paper large enough to cover both bars, then I punched a hole and tied ribbon (again, from Big Lots).


For the Christmas card I made for her, I used cranberry CM paper and a discontinued silver CM paper. The bells were cut at different sizes using Joys of the Season. The ribbon for the bow that ties the bells together is from Wal-Mart, and the "Jingle Jingle Jingle" stamp is a $1 stamp from Michaels.


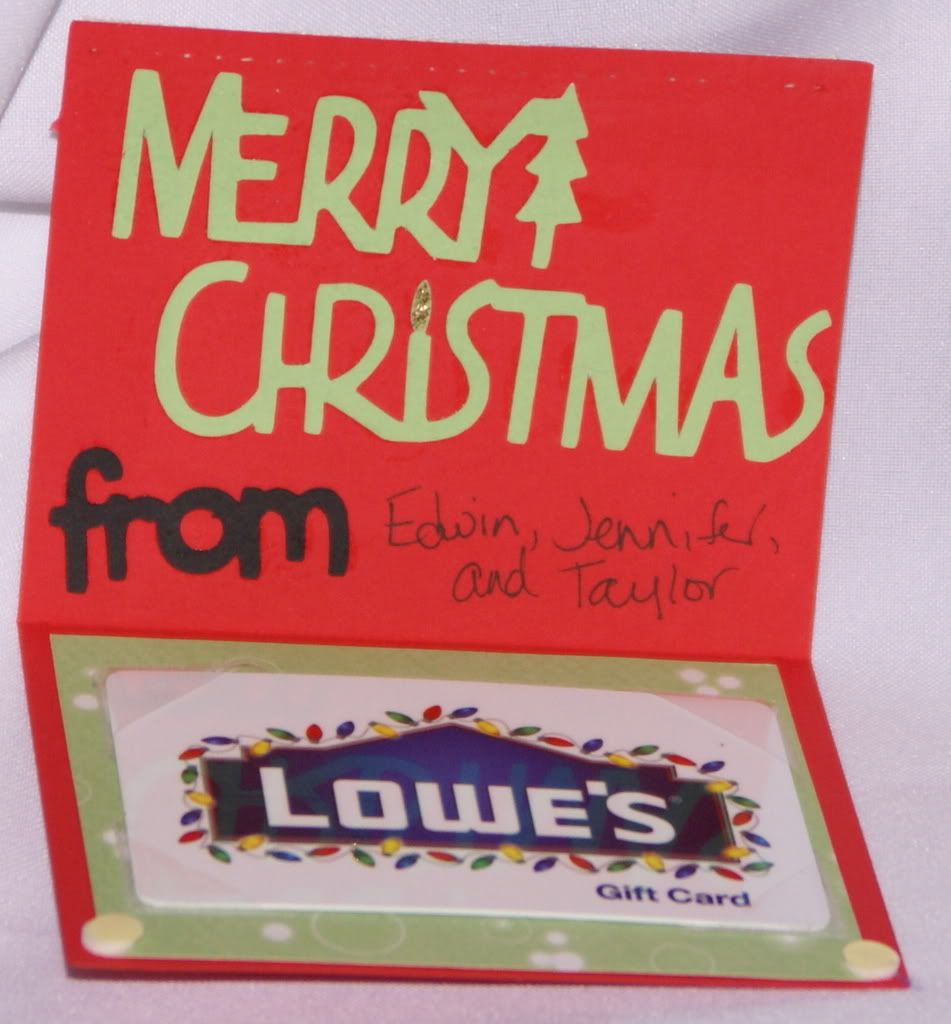
I gave several gift cards this year, and I loved having my Cricut Expression to help me with those projects. It was also very helpful when making a couple of money holders.


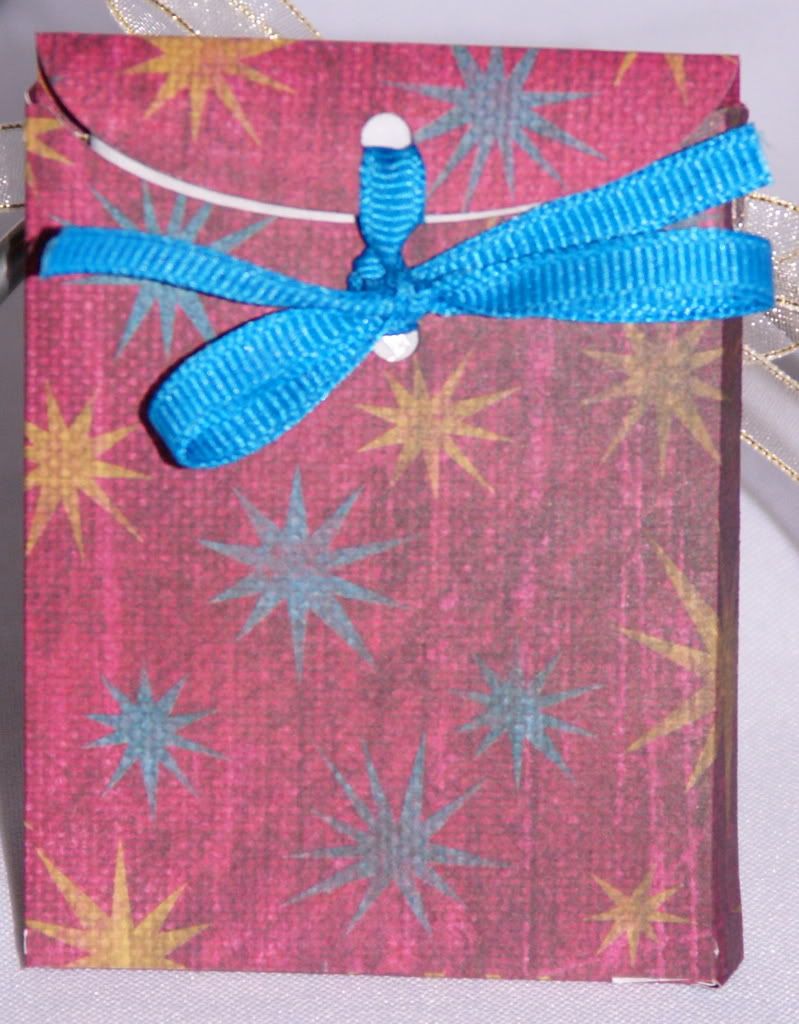
For this first gift card holder and tag, I cut them using Tags, Bags, Boxes & More. It was tied with a ribbon (from Wal-Mart) to close, and the tag was attached using a sheer gold ribbon from the dollar store.


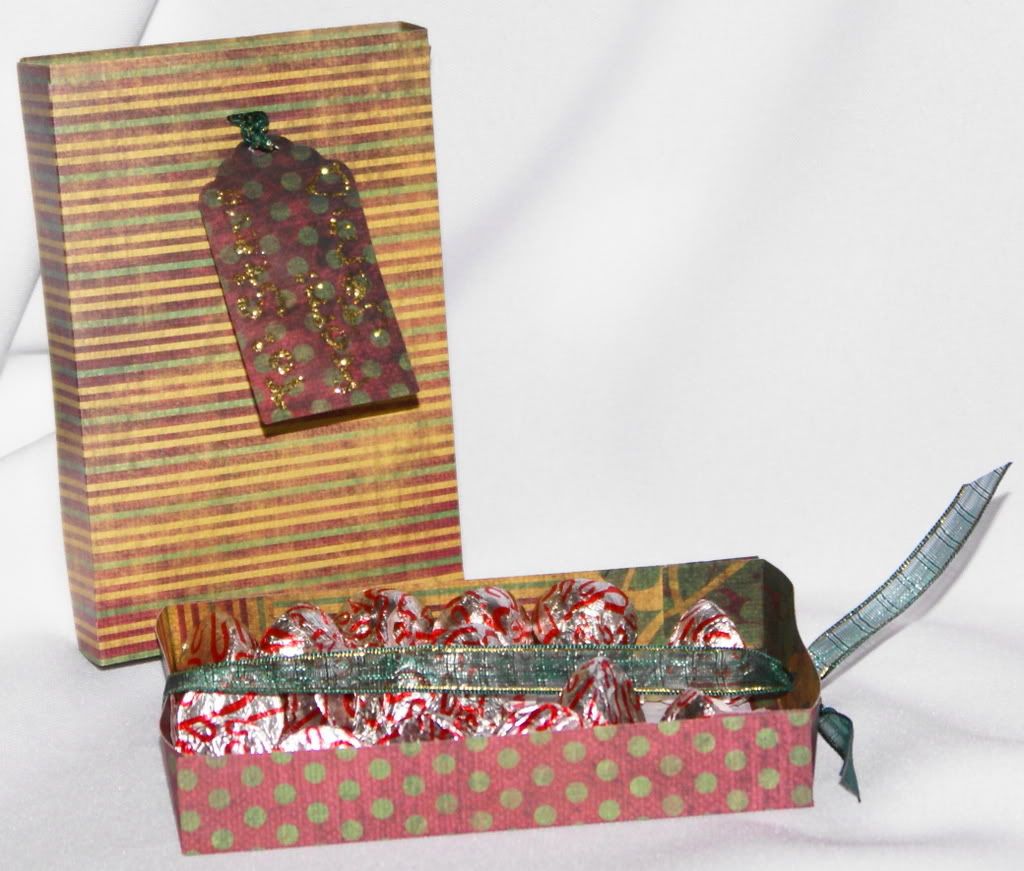
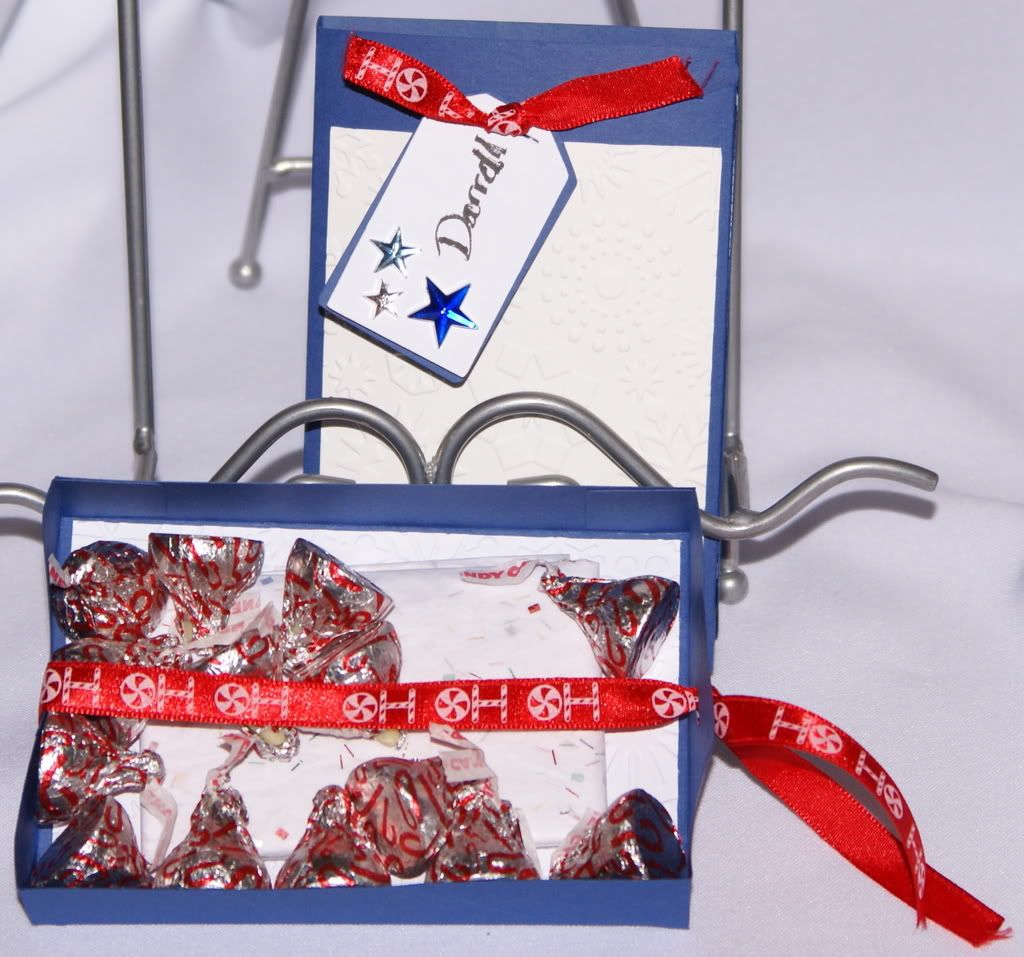
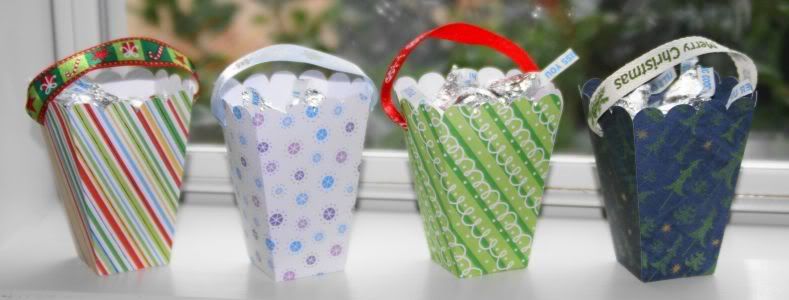
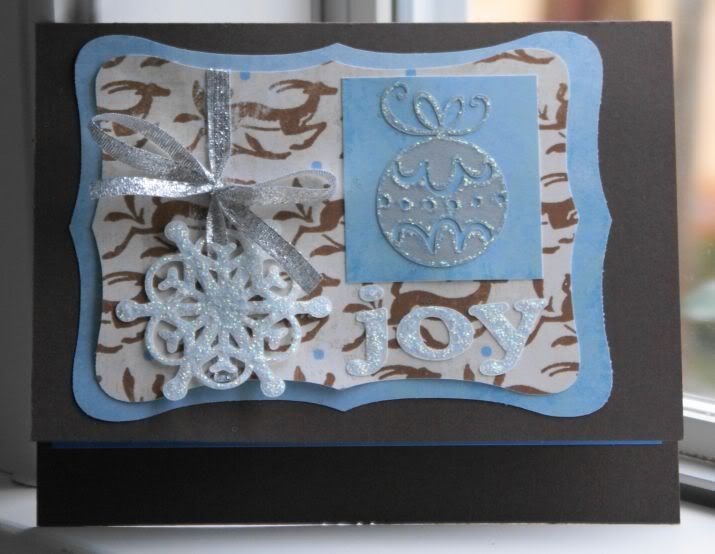
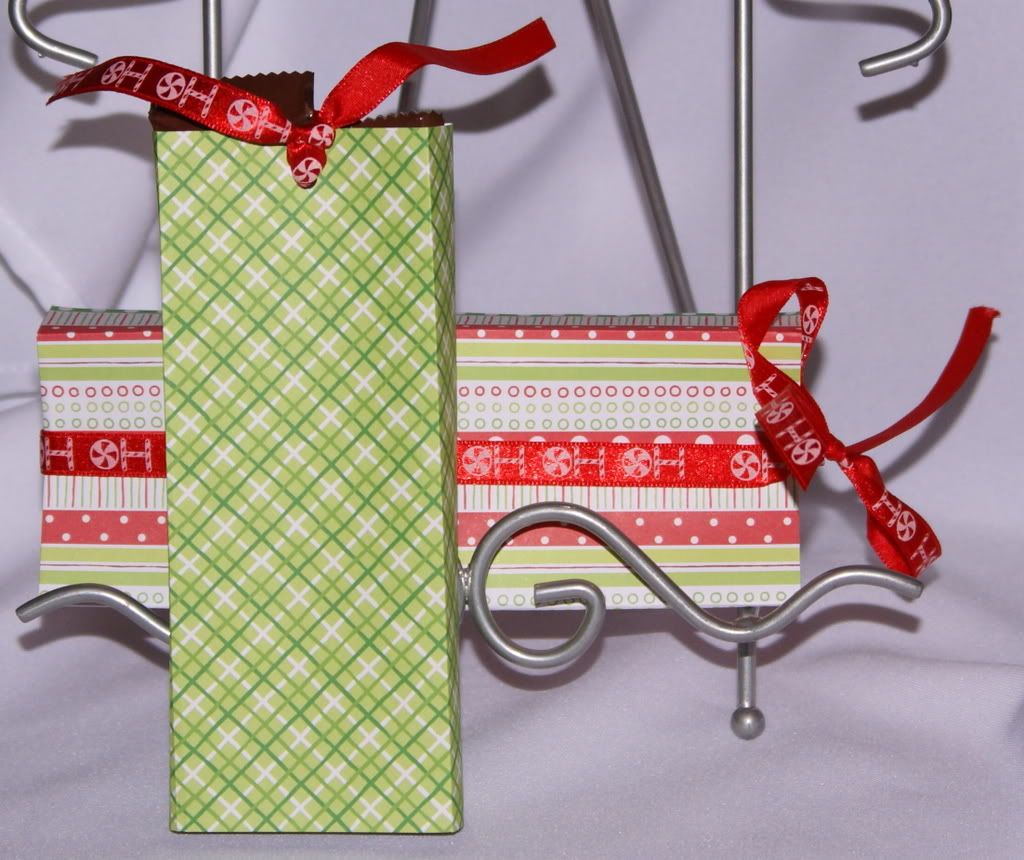
These 2 slider boxes were cut with TBBM at 5". The first one was made using CM Starry Night paper and a green sheer ribbon from Wal-Mart. The tag was cut at 2.5". The second box was made using CM blue cardstock for the box, white CM cardstock for the top, and ribbon from Big Lots. The white paper was embossed using the Cuttlebug machine and the Snowflake embossing folder.


The outside of this money holder was created by folding and adhering 3 sides of a post card in half, covering with paper, and then inking the edges. The pull out money holder was created by cutting a piece of paper that would slide easily into the "post card" once folded and glued shut. All patterned paper is Christmas Cheer by Provo Craft, and the red and the white paper are CM cardstock. The ribbon is from the dollar store. I cut the "B" from George in white at 2.25 using the shadow blackout feature, and I cut it in red at 2". The rest of the name was cut in white at 1.25" and in red at 1".


For this gift card holder, I used red CM paper cut at 4" on Plantin Schoolbook using the card key. "Merry Christmas" was cut at 1" using Beyond Birthdays and CM green paper from the Candy Cane album kit. The Santa face was cut from Doodlecharms at 2" and embossed with the Cuttlebug and the D'Vine Swirl embossing folder. "To" and "from" were cut in CM black cardstock using Christmas Cheer, and "Mark" was cut using Cuttin' Up. The ribbon on front is from the dollar store. I used CM photo mounting corners to hold the gift card on the inside and small pop dots to keep the card closed.


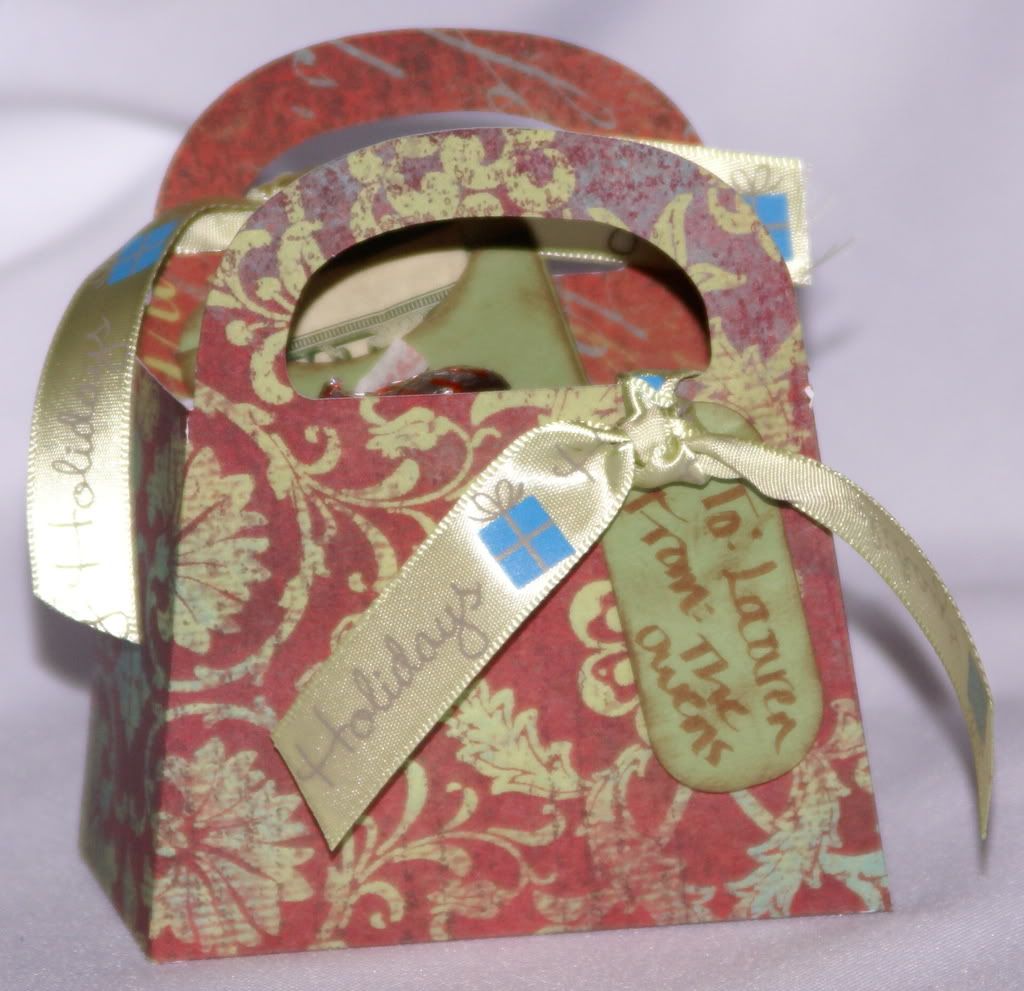
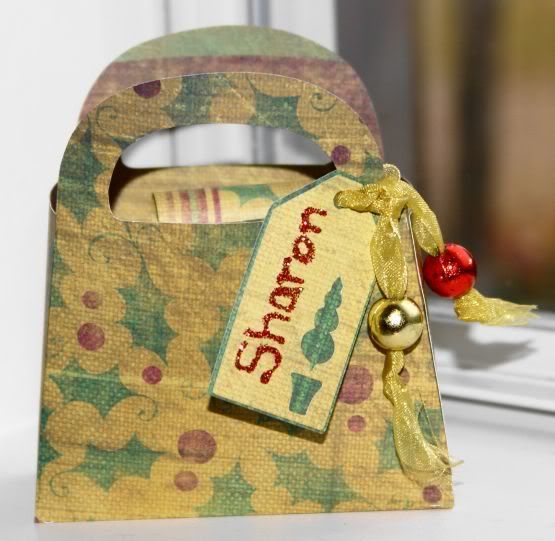
The next gift was for a female, so I used TBBM to cut the purse. For the size, I chose the "fit to page" function on the Expression machine. I used Prima Aurora paper and ribbon from Michaels. The tag is made with paper from CM's Shades of Green Paper Pack and inked on the edges. I cut a tag pocket (tag pocket 1) to slip the money down into.


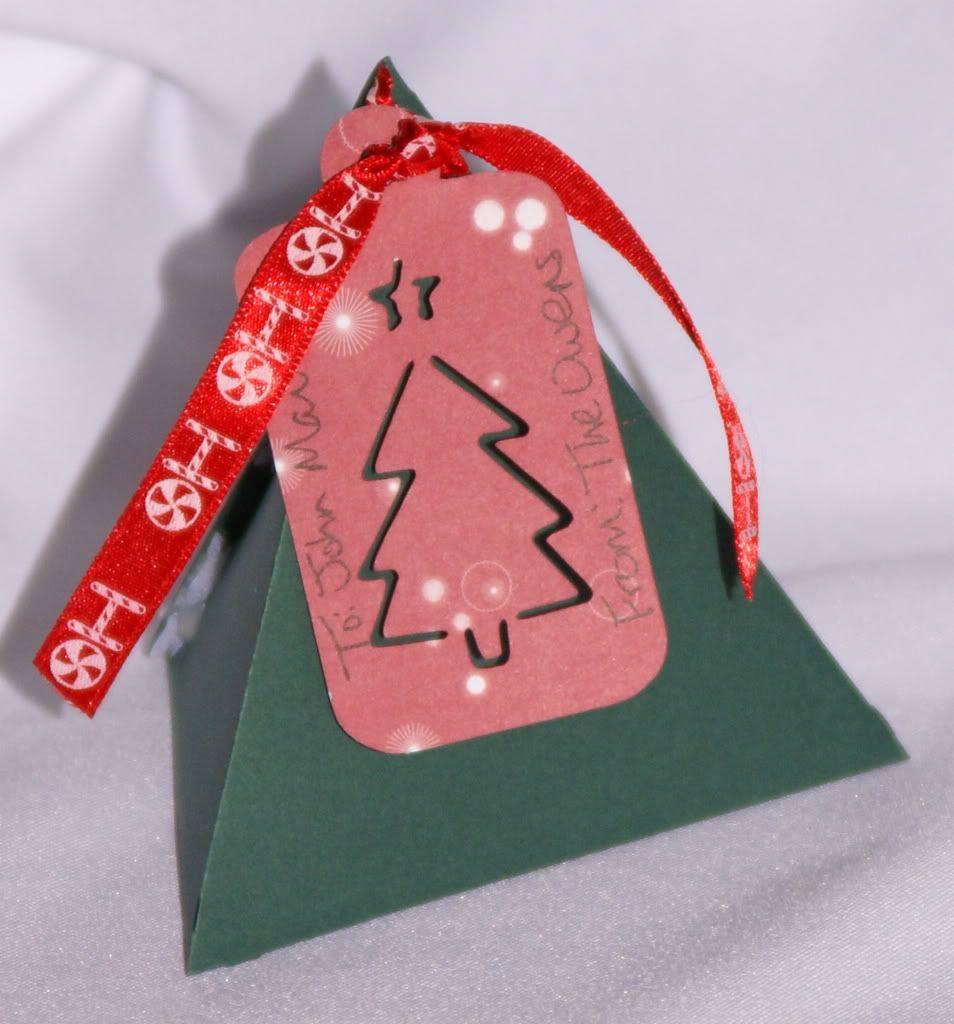
I cut this cut triangle box to use from TBBM using the fit to page feature on the Expression machine. The paper is CM Evergreen cardstock. For the tag, I used red paper from the CM Candy Cane album kit, using the tag feature on the Christmas Cheer cartridge. I used ribbon from Big Lots, and the box is closed by using small cuts of leftover Velcro that I had lying around.

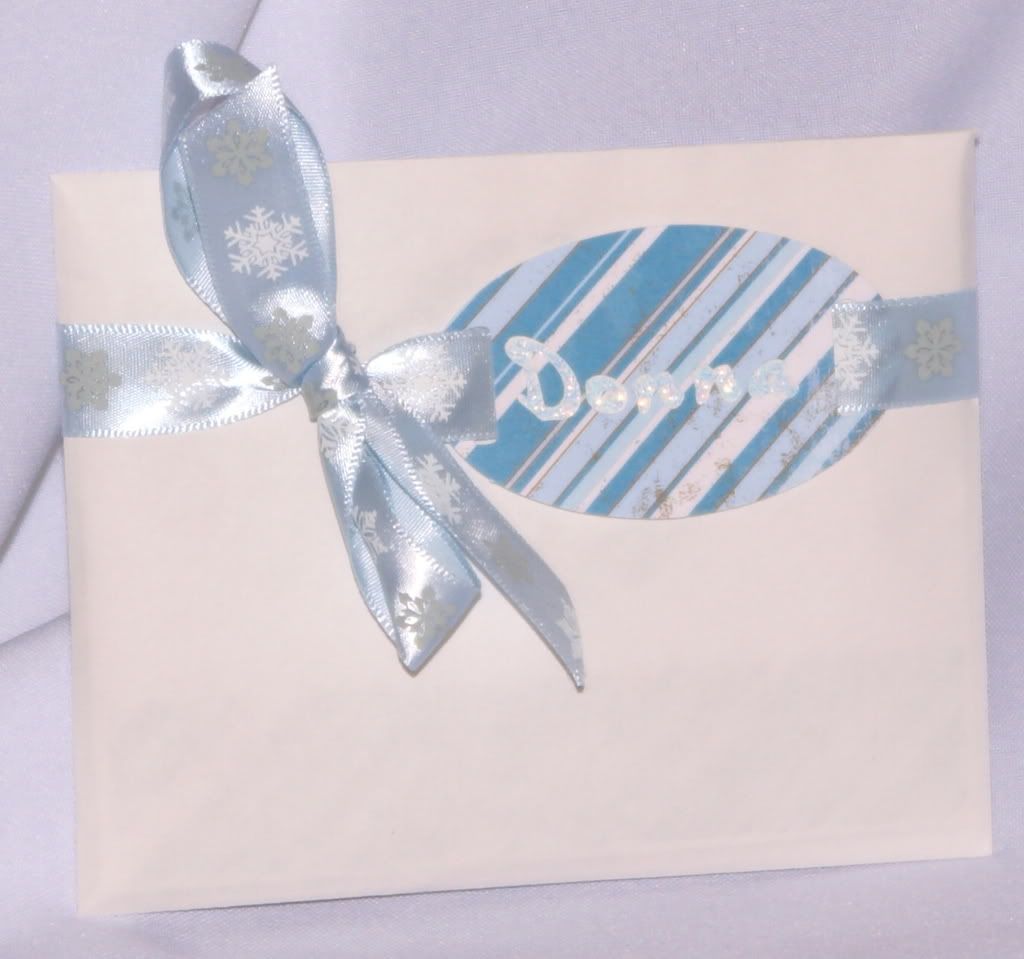
The next gift card was for my mom. I put it inside one of my favorite Christmas cards that I made this year and, wouldn't you know, I forgot to take a picture of it. Yet I thought to take a picture of the envelope! Geez. Hopefully, I can get my mom to take a picture and email it to me soon. I used an invitation-sized envelope, a tag from the My Mind's Eye Bohemian Christmas pack, and ribbon from Michaels. "Donna" was cut at .75" using the shadow feature and then stickled using Diamond Stickles.

And that's it for my last minute Christmas projects. I learned a lesson....STOP WAITING 'TIL THE LAST MINUTE!!!! LOL, well, at least I *think* I learned my lesson. Thanks for looking. I would love for you to leave a comment!

Friday, December 21, 2007

My First Card Order!!!!

I got my first order for a set of cards! My mom's boss ordered some to give as a gift. She also ordered a box to organize them in. Here are pictures of the box and some of my favorite cards out of the bunch....


LOL, it looks like I put them all on here! Ah well, TFL....I'm all caught up and will update from now on with any new creations....'Night all!

Card Set....

I made a small set of cards with a box for a Christmas gift. The box is what I guess you call a shaker box (is that right???). I made it using TBBM, cutting a window for the top, putting glitter into a CM sticker envelope and sticking that to the inside of the top of the box. Here are the cards. I only took pictures of the fronts for some reason. Most of the insides were stamped with a "Happy Birthday" or "Celebrate" stamp and had a gift cut w/the cricut & stickled.

Here's the box:


And here are the cards:

Christmas Treat Boxes & Bows...

I made these little treat boxes for the girls I used to work with. Paper is Provo Craft Christmas Cheer, except for the blue with Christmas trees & it's Creative Memories Starry Night; cart used was TBBM & they were cut at 4.5 *I think*. Ribbon is from Dollar General, Big Lots & Michael's.
And here is little bag I made that holds a little "happy" for a friend of mine who's gotten into card making (yes, I proudly enabled her! Hey Sharon if you see this!!!!). I got her 2 bottles of stickles. Instead of using tissue paper or confetti, I rolled and taped up different sizes of scrap paper. All paper in this project is Creative Memories Starry Night paper. The ribbon is actually cut from a garland I got at Dollar Tree.
I saw the tutorial for this paper bow on Splitcoast Stampers a few days ago and thought it was too cute. My DD's class were exchanging gifts and after she wrapped it, I remembered that I left the bows and tags in the attic. Then it dawned on me...."I've got that awesome expression and can make a waaaaay better tag than one of those peel and stick boring ones." So, I got to work. The tag is the scalloped square tag from Christmas cheer & so is the reindeer. It's hard to see, but I used Jasmine to cut "to" and "from" (I got home from Christmas shopping to find it on my front porch, just begging me to try it out.). I used diamond stickles on the words and candy cane stickles on the reindeer's horns, hoofs, neck & nose (to match the reindeer on the wrapping paper.). DD asked me to "glitter it up" on the names, so that's why the words are so hard to read. After I finished the tag, I was trying to find some ribbon to use for a "bow", and then remembered that SCS paper bow. I used Creative Memories Candy Cane paper for the bow, CM Everyday power palette paper for the green tag, & CM red card stock for the "shadow" tag. Brown & black CM card stock was used for the reindeer. TFL!!!

Some Christmas Cards....

I've made a few Christmas cards, but I'll just post my 2 favs. In the first one, the ornament was cut from Joys of the Seasons Cricut cart, the red paper is CM cranberry cardstock, the Striped Square Paper is Rusty Pickle Merry Grinch-mas Whoville, the dark Green Scalloped Square is Creative Memories Starry Night Paper, Blue Ornament "Shadow" is Creative Memories Gazebo Power Palette, Striped Ornament is Rusty Pickles Merry Grinch-mas Candy Cane, Clear Rain Dots, Diamond Stickles, and Starry Night Stickles. Inside (no pic) I used Creative Memories clear photo mounting corners to add a photo card created by me using CM digital scrapbooking software (Storybook Creator Plus).


Second Card: All paper is from My Mind's Eye Bohemian Christmas pack except the siliver that I used for the ornament. The silver is from Creative Memories Shimmer paper. Silver ribbon is from Walmart. Snowflake and "joy" were cut from Creative Memories white card stock and then covered in diamond stickles. Inside I again used the clear photo mounting corners so I could add the photo card I made.

Happy Anniversary, Baby....

I have been married to my wonderful husband for 14 years. I love this card I made for him. Various Cricut carts were used to create it...accent essentials, beyond birthdays. The cuttlebug was used to emboss the gray paper on the front. He loved it and I love him!

Turkey 'N Dressing....

My daughter, Taylor, came home with a family project to do for school called "Turkey 'N Dressing". The students were given a "naked" turkey that they and their family had to "dress". Taylor had the idea of dressing the turkey as Santa Claus. Why, you ask? Because if it was dressed as Santa, it couldn't be eaten for Thanksgiving dinner. LOL!


She wanted us to use my Cricut in some way, so I cut out a Santa suit using the Christmas Cheer cart, traced it onto paper, enlarged it, modified it to fit Mr. Turkey, and there ya have it. For the beard and the trim on his hat and suit, I used some of that white fluffy stuff (what IS that called, anyway?!?!) that comes in jewelry gift boxes. So, here's Santa Turkey....

Criss Cross Applesauce

Well, not really, but that's what I think of every time I hear the name of these cards. Criss cross cards....now who came up with this idea? I dunno but I love 'em! Here are my first two...